


Interior demolition may be easier than razing an entire structure, but more often than not, it’s masked with more risk. There are wires, pipes, ducts, and potential dangers waiting behind every wall that are easy to overlook. If you conduct some good planning and bring on the right experts to support your needs, remodelers should be able to safely open a space and make it an easy project with the least amount of risk.
What Makes Interior Demo Tricky?
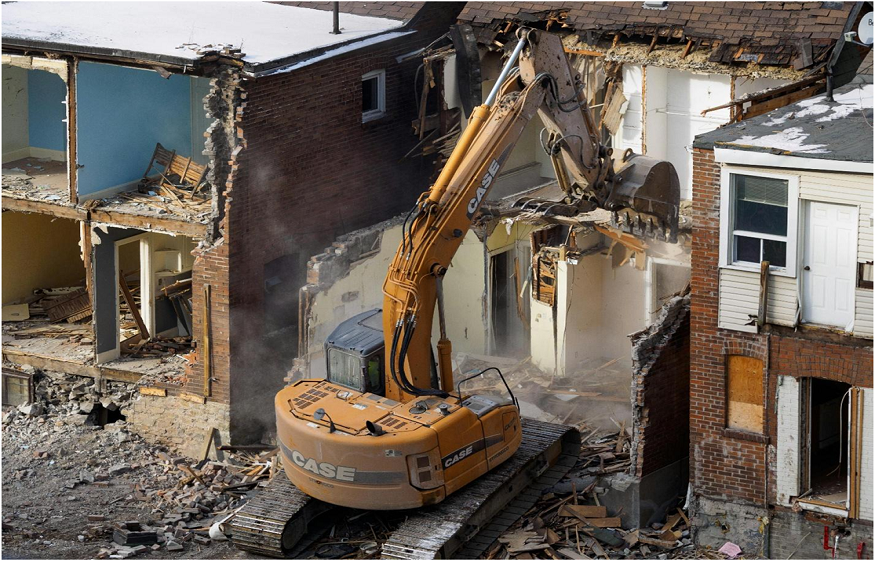
Working inside the standing home or business means demolition must happen in precise ways. Organization happens inches away from finished surfaces within occupied spaces with active utilities. The challenge becomes removing what the remodel needs and not damaging, upsetting or affecting everything else, a method sometimes called selective demolition
Before a contractor even picks up a tool, they build a jobsite safety plan and review drawings, permits, and load paths. Even a “non-structural” partition has the potential for providing vertical bracing to ceiling joists and hiding pocket beams. If possible, they stage the work with those factors in mind to reduce risks of surprises.
Read More: DSCR Loans: Step-by-Step Guide to Debt Service Coverage Ratio Financing
- Hidden structure: Walls may be load bearing or provide lateral bracing. Cutting first and asking later can lead to building sag and costly repairs.
- Hidden systems: Electrical, gas, potable water, data, and HVAC lines run through the walls and floors and are often unmarked. Prior knowledge could avoid shocks, leaks, and outages.
- Material risks: Lead-based paint, silica dust, or asbestos in older buildings will require testing and regulated disposal. You can’t DIY those.
- Tight spaces: Working inside means limited staging, tighter debris routes, and required protection of any remaining finish.
- Disposing of items: make sure to familiarize yourself with local disposal regulations, as the sorting and recycling of waste material is likely part of the local code (and anybody will tell you fines can build up quickly if disposed of incorrectly).
The Role of Utility Shutoffs
Few things derail a remodel faster than discovering a live line, half-way through demo. Shut offs need to start with what you know, once you know where each panel, valve, and disconnect is. More often than not, these connections end up in the basement, crawlspace or somewhere strategically hidden in a cabinet or two. Electrical circuits should be de-energized and tested with a tester (not degund as ‘off’) and gas valves should be capped and closed shut, water lines drained and isolated to prevent backflow.
Gas caps, meter pulls, service disconnects, must only be performed by a licensed professional, warranted by the code, and the utility if they’re involved. Lockout/tagout devices can be great to ensure nobody accidentally turns the system back on, as you work through the project, particularly a gas system. Identifying shutoffs in advance, if possible, labeling them clearly, sharing a common shut-off list with the crew, and having daily meetings, keeps everyone on the same information page.
Protecting Floors, Walls, and Fixtures
Interior demolition is a win or lose proposition with respect to protecting finished surfaces. Finished floors, stair rails, countertops and built-ins should survive the tear-out. And when I say protect, I mean surface protection, such as surface guard, corner bumpers, and debris-controlled paths from the work area to the egress/exit. Protecting an interior section is less expensive than replacing it.
When homeowners are searching and comparing bids, like “interior demolition Spokane“, they may be interested in hiring crews, who value protection and cleanup, as part of their interior demolition process. Local knowledge is a great help when dealing with permit management, disposal, and staging.
- Floor protection: ram board or plywood runners leading from work area to exit/entry way
- Include slip-resistant mats at thresholds to collect dirt.
- Wall and trim protectors: Foam corner guards and door-jamb protectors stop gouging from wheelbarrows and dolly loads.
- Fixure protection: Place rigid sheets over remaining cabinets, appliances, and windows, not just plastic sheeting, to stop abuse.
- Debris route: Stage cans at the work point with small debris bagged to avoid scratching while transporting construction debris.
How to Control Dust and Noise
Dust moves very rapidly in shared spaces. Crews building dust control barriers with zipper doors and maintaining negative air with HEPA filtered fans (you can find more info here) keeps neighbors and other rooms clean. Wet methods, such as misting while cutting, keep dust particles from floating and cause particulates to come down. Regular sweeping with HEPA vacuums, not brooms, is the best method to prevent dust from flying into the air again.
Noise is the other complaint magnet. Be sure to identify hours to plan louder task(s) as agreed to and notify neighbors, if necessary, to mitigate neighbors’ irritation, especially in congested areas or condos. Where practical, quieter tools, rubber pads under equipment, and soft-close chutes all help. Good communication is as important as good equipment.
Preparing the Space for Remodeling Crews
If demolition is done well, the next trades can start essentially right away. Clean, square edges and labeled penetrations save the framers, plumbers, and electricians many hours. Staging areas and predictability of waste service makes for a more effective site. This is why it is all-important to plan for the roll-off dumpster rental and timely pickups.
Read More: The Ultimate Guide to Choosing the Right Garden Pipes for Your Outdoor Space
Once the site is turned over, a careful and comprehensive closeout will streamline the remodel in the following ways:
- Final clean: Remove all nails, sweep off fine dust, and wipe down surfaces, so that layout lines stick and tools stay clean.
- Verification: Take photographs of any open walls (room for improvement here!). Label all plumbing, electrical, and mechanical stubs. Confirm that rough openings match with construction plans.
- Inspections: If selective demolition has exposed structure or changed egress paths, book any interim inspections as needed.
- Logistics: Coordinate dumpsters swap out with framing start, confirm material delivery windows, and mark a path between the curb and workspace to ensure safe access.
- Safety reset: Update the posted jobsite safety plan and re-brief crews on how they will be accessing work locations, ensure exit paths are good and confirm remaining hazards.
Closing Thoughts
Interior demolition doesn’t need to be frightening—but it does require some level of respect for what it not visible to the naked eye! Using the process of selective demolition, disciplined protection, and with partners to manage waste handling and debris recycling, remodelers can clear the way for new work without disorder.
Processed and thoughtful planning—and having an on-call team with capacity to haul and dispose of construction debris—ensures projects are safer, cleaner and have predictability in the timing of completion